> ## Documentation Index
> Fetch the complete documentation index at: https://support.entegrata.com/llms.txt
> Use this file to discover all available pages before exploring further.
# Step 1: Subscription Activation
> Provision the foundational Azure infrastructure for your Entegrata instance.
Activating your Azure subscription provisions the core infrastructure required for your Entegrata instance. This process is automated and typically completes within a few minutes.
## What Gets Created
When you activate your subscription, Entegrata automatically provisions the following Azure resources:
* **Resource Group**: Container that organizes all resources for your Entegrata instance
* **Managed Identity**: Service identity enabling secure authentication between Entegrata components
* **Service Bus**: Messaging infrastructure for reliable communication between services
* **Container App Environment**: Platform for running containerized Entegrata services
* **Delegator Service**: Orchestration component that manages infrastructure deployment
All Azure resources are created in accordance with Microsoft's security best practices and are configured to meet enterprise security and compliance requirements.
## Activating Your Subscription
Click the "Activate Subscription" button to begin the provisioning process.
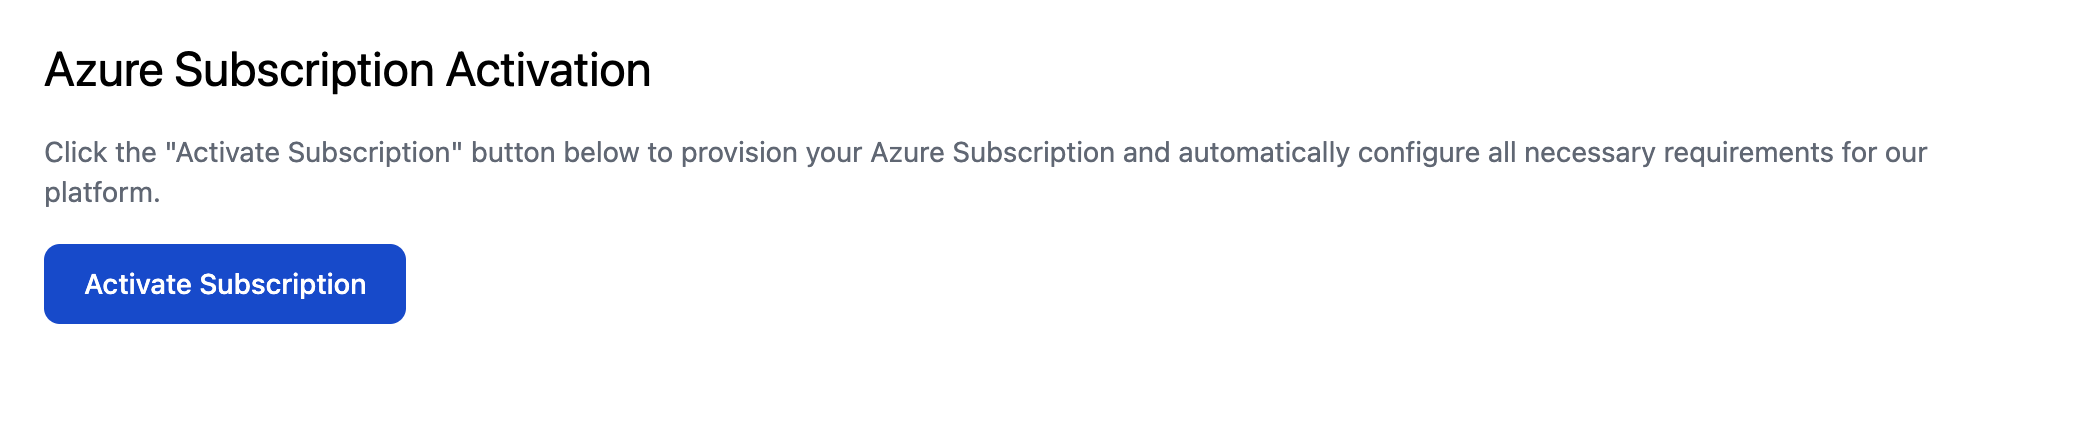 Once you click the button, you'll see a loading screen indicating that your Azure infrastructure is being created. This process typically takes 2-5 minutes.
 When provisioning is complete, you'll see a confirmation card displaying your Subscription Name, Owner, and ID. The Subscription ID uniquely identifies your subscription and will be used for support and billing purposes.
 Make note of your Subscription ID for future reference. You can also find this ID later in the instance details.
## Self-Hosted Instances Only: Configure Azure Databricks Access
*This section is only required for self-hosted instances.*
To enable Entegrata to manage access and settings for your subscription, you'll need to assign the User Access Administrator role to the managed identity and add it as an Account Admin in your Azure Databricks account.
### Assign User Access Administrator Role to the Managed Identity
1. Sign in to the **Azure Portal**
2. Navigate to **Subscriptions** and select your Entegrata Subscription
3. In the left-hand menu, click **Access control (IAM)**
4. Click **+ Add > Add role assignment**
5. In the **Role** dropdown, select **User Access Administrator**
6. In the **Assign access to** section, choose **Managed identity**
7. Click **Select members**, then search for and select the managed identity (the name will be displayed in the interface)
8. Click **Select**, then **Review + assign** to complete the role assignment
### Retrieve the Application (Client) ID and Add as Databricks Account Admin
#### Find the Application (Client) ID:
* In the Azure Portal, go to **Microsoft Entra ID > Enterprise Applications**
* In the **Application type** dropdown, select **All Applications**, then search for the managed identity name
* Select the managed identity from the results
* On the **Overview** page, copy the **Application (client) ID**
#### Add the Managed Identity as a Databricks Account Admin:
* Sign in to the **Azure Databricks Account Console**
* In the top-right corner, click your username and select **Manage Account**
* Go to **User management**
* Choose the **Service Principals** tab
* Click **Add Service Principal** and choose the **Microsoft Entra ID managed** option
* In the **New service principal display name** field, put the managed identity name
* In the **Microsoft Entra application ID**, put the client ID that you copied above
* Click **Add Service Principal**
* Click on your newly added service principal
* Click the **Roles** tab at the top
* Toggle **Account Admin** on
* You can now exit out of this console
## Troubleshooting
If the subscription activation fails or takes longer than expected:
* Ensure you have the necessary Azure permissions to create resources in your subscription
* Verify that your Azure subscription has sufficient quota for the required resources
* Check your network connection
* If the issue persists, contact [Entegrata support](https://support.entegrata.com) with your Subscription ID
## Next Steps
Once your subscription is successfully activated, you're ready to configure your network connection.
Return to the onboarding overview
Proceed to Step 2: Network Connection Setup
Make note of your Subscription ID for future reference. You can also find this ID later in the instance details.
## Self-Hosted Instances Only: Configure Azure Databricks Access
*This section is only required for self-hosted instances.*
To enable Entegrata to manage access and settings for your subscription, you'll need to assign the User Access Administrator role to the managed identity and add it as an Account Admin in your Azure Databricks account.
### Assign User Access Administrator Role to the Managed Identity
1. Sign in to the **Azure Portal**
2. Navigate to **Subscriptions** and select your Entegrata Subscription
3. In the left-hand menu, click **Access control (IAM)**
4. Click **+ Add > Add role assignment**
5. In the **Role** dropdown, select **User Access Administrator**
6. In the **Assign access to** section, choose **Managed identity**
7. Click **Select members**, then search for and select the managed identity (the name will be displayed in the interface)
8. Click **Select**, then **Review + assign** to complete the role assignment
### Retrieve the Application (Client) ID and Add as Databricks Account Admin
#### Find the Application (Client) ID:
* In the Azure Portal, go to **Microsoft Entra ID > Enterprise Applications**
* In the **Application type** dropdown, select **All Applications**, then search for the managed identity name
* Select the managed identity from the results
* On the **Overview** page, copy the **Application (client) ID**
#### Add the Managed Identity as a Databricks Account Admin:
* Sign in to the **Azure Databricks Account Console**
* In the top-right corner, click your username and select **Manage Account**
* Go to **User management**
* Choose the **Service Principals** tab
* Click **Add Service Principal** and choose the **Microsoft Entra ID managed** option
* In the **New service principal display name** field, put the managed identity name
* In the **Microsoft Entra application ID**, put the client ID that you copied above
* Click **Add Service Principal**
* Click on your newly added service principal
* Click the **Roles** tab at the top
* Toggle **Account Admin** on
* You can now exit out of this console
## Troubleshooting
If the subscription activation fails or takes longer than expected:
* Ensure you have the necessary Azure permissions to create resources in your subscription
* Verify that your Azure subscription has sufficient quota for the required resources
* Check your network connection
* If the issue persists, contact [Entegrata support](https://support.entegrata.com) with your Subscription ID
## Next Steps
Once your subscription is successfully activated, you're ready to configure your network connection.
Return to the onboarding overview
Proceed to Step 2: Network Connection Setup