> ## Documentation Index
> Fetch the complete documentation index at: https://support.entegrata.com/llms.txt
> Use this file to discover all available pages before exploring further.
# Step 3: Customer-Managed Key (Optional)
> Upload a Customer-Managed Key for instance-level encryption.
## Overview
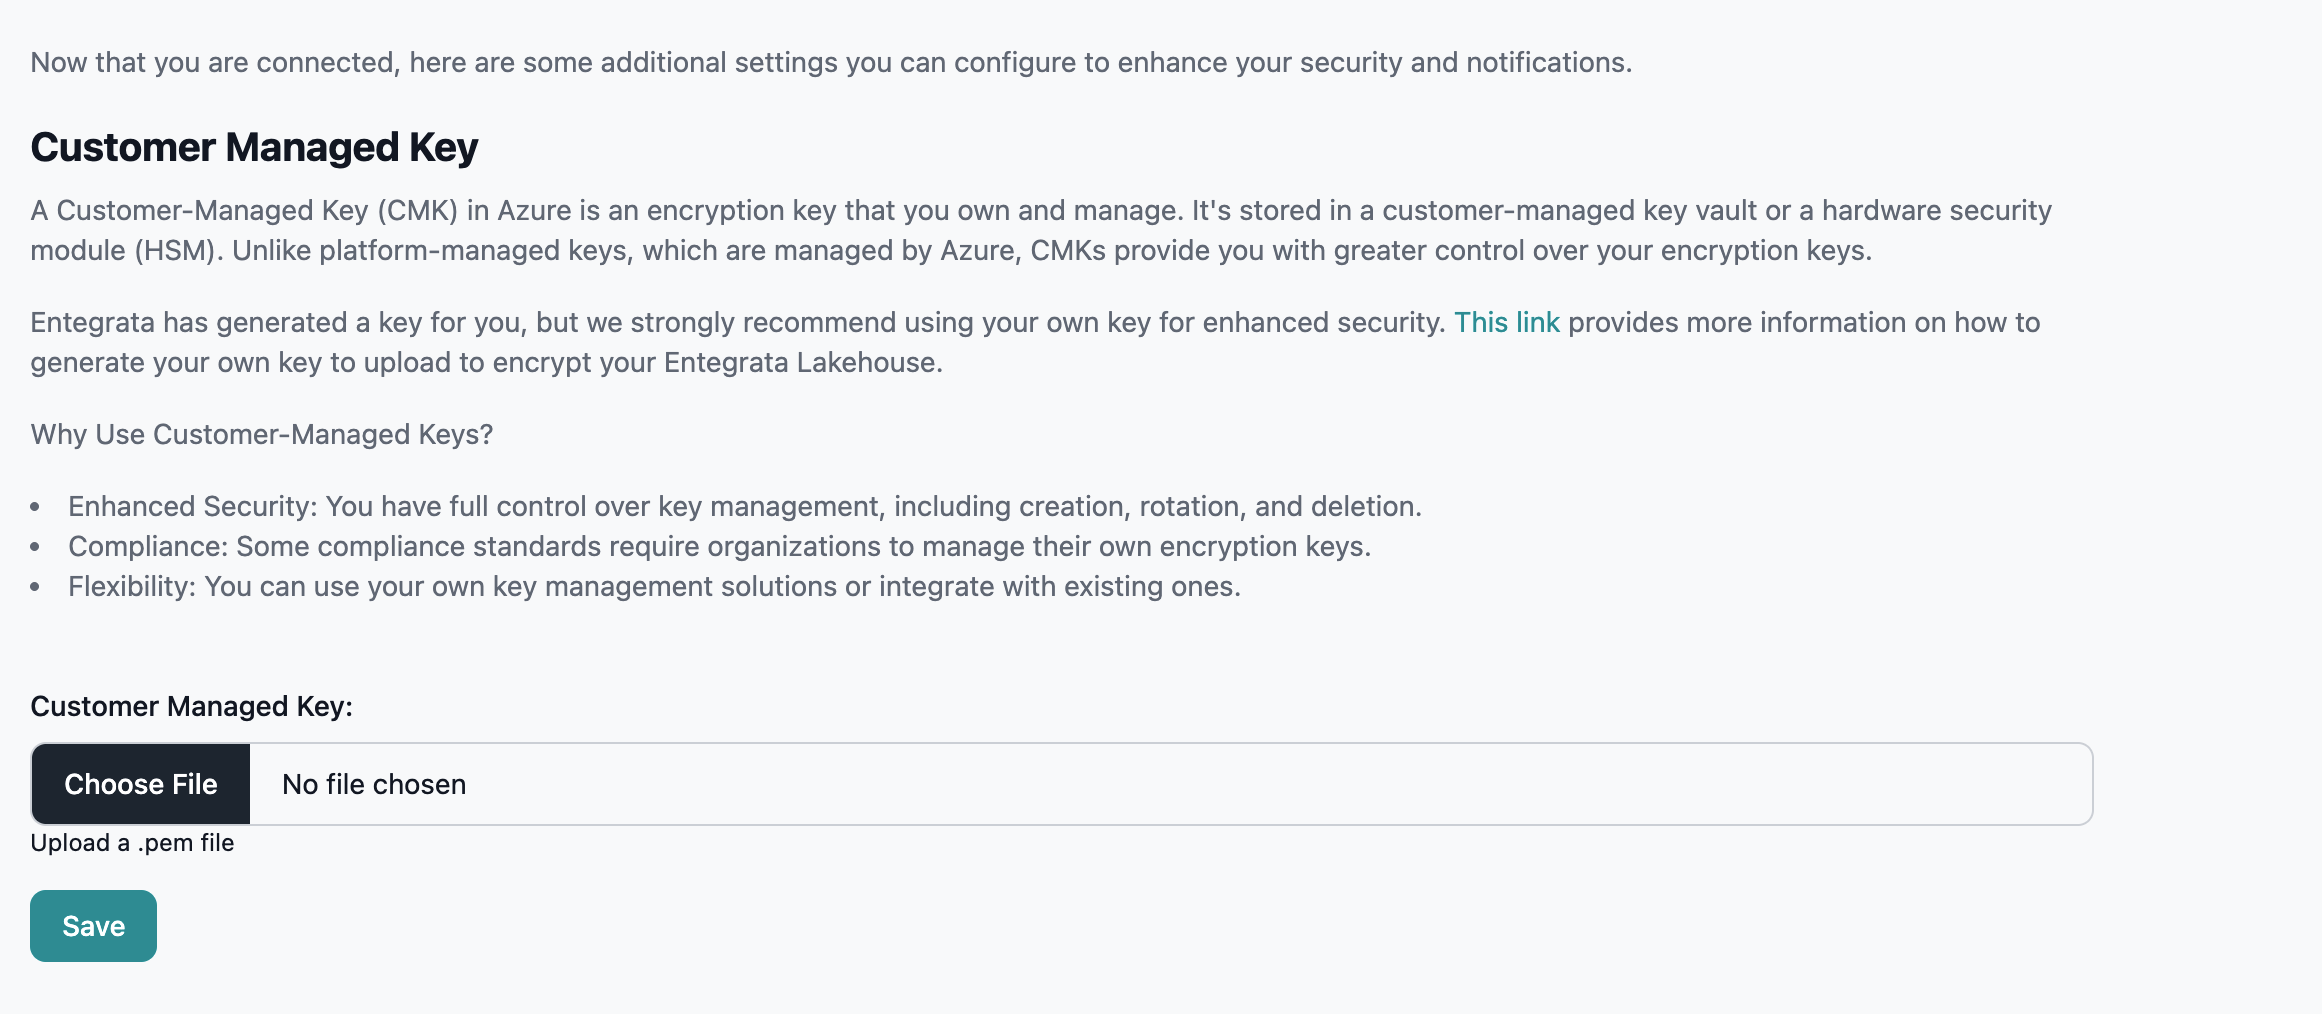
Configure an optional Customer-Managed Key (CMK) during onboarding for enhanced data encryption control. This setting can also be managed later through [Data Encryption](/administration/instance/data-encryption) in your instance settings.
This step is optional. You can click Save without uploading a key and Entegrata will generate a Customer-Managed Key for you.
## Customer-Managed Keys
Customer-Managed Keys (CMK) allow you to control the encryption keys used to protect your data, providing enhanced security and compliance capabilities beyond Azure's default encryption.
**Key Benefits of CMK:** - Control and ownership of encryption keys - Meet compliance requirements (SOC 2, HIPAA, PCI-DSS, FedRAMP) - Flexible key rotation on your schedule - Enhanced security for sensitive data
### Uploading Your CMK
Ensure your key meets these requirements:
* RSA private key (minimum 2048-bit, 4096-bit recommended)
* PEM format with `.pem` extension
* Begins with `-----BEGIN RSA PRIVATE KEY-----`
* Unencrypted (no password protection)
These requirements will be validated by the server when you upload the file. If the file doesn't meet requirements, you'll receive an error message.
Click "Choose File" and select your private key file, then click "Save" to proceed.
 After clicking Save, the system will process your key. You'll see a loading screen with the message "Applying additional settings to your instance." This may take several minutes.
The PEM file must be an unencrypted private key. Store it securely with restricted access and maintain encrypted backups. Never share this key file with unauthorized parties.
### If You Do Not Upload Your Own CMK
If you don't upload your own key, Entegrata will generate a Customer-Managed Key for you:
* AES-256 encryption for data at rest
* Key stored in Azure Key Vault
* Key managed by Entegrata
To proceed without uploading your own CMK, simply click "Save" without selecting a file.
For detailed CMK configuration and management after onboarding, see [Data
Encryption](/administration/instance/data-encryption).
## Completing This Step
Click "Save" to proceed. You can upload your own CMK file or let Entegrata generate one for you.
## Next Steps
Return to Network Connection Setup
Finish instance onboarding
After clicking Save, the system will process your key. You'll see a loading screen with the message "Applying additional settings to your instance." This may take several minutes.
The PEM file must be an unencrypted private key. Store it securely with restricted access and maintain encrypted backups. Never share this key file with unauthorized parties.
### If You Do Not Upload Your Own CMK
If you don't upload your own key, Entegrata will generate a Customer-Managed Key for you:
* AES-256 encryption for data at rest
* Key stored in Azure Key Vault
* Key managed by Entegrata
To proceed without uploading your own CMK, simply click "Save" without selecting a file.
For detailed CMK configuration and management after onboarding, see [Data
Encryption](/administration/instance/data-encryption).
## Completing This Step
Click "Save" to proceed. You can upload your own CMK file or let Entegrata generate one for you.
## Next Steps
Return to Network Connection Setup
Finish instance onboarding