After activating your subscription, establish a secure network connection between Entegrata and your data sources. This connection enables Entegrata’s collectors to access your systems for data collection while maintaining security and network isolation.Documentation Index
Fetch the complete documentation index at: https://support.entegrata.com/llms.txt
Use this file to discover all available pages before exploring further.
After onboarding, network connections can be managed through Network
Connections in your instance settings.
Connection Type Selection
You have two options for establishing network connectivity:VNet Peering
Best for Azure-based resources. Uses cross-tenant Virtual Network peering for direct, private connectivity.
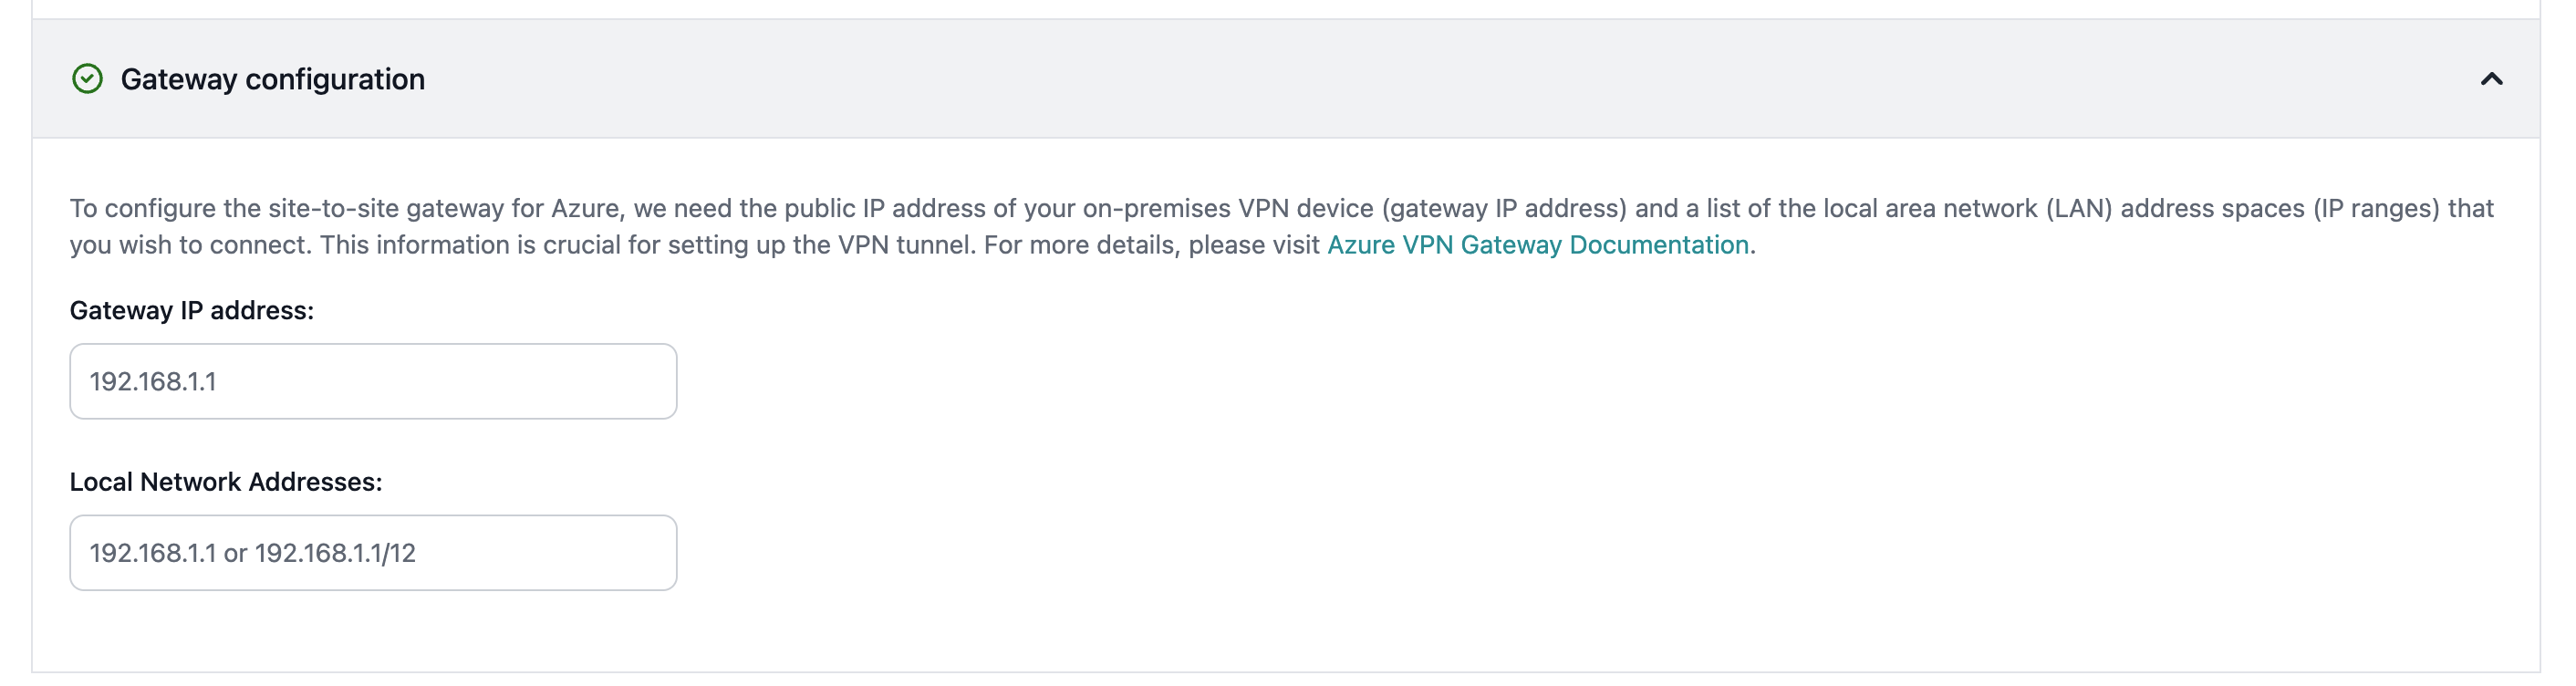
Site-to-Site (S2S) VPN
Best for on-premises or hybrid environments. Creates an encrypted VPN tunnel between networks.
- VNet Peering
- Site-to-Site (S2S) VPN
When to Use VNet Peering
Choose VNet Peering if:- Your data sources are hosted in Azure
- You want the lowest latency and highest bandwidth
- You prefer a simpler network configuration
- You have existing Azure Virtual Networks
Configuration Steps
1. Self-Hosted Instances Only: Databricks Configuration
1. Self-Hosted Instances Only: Databricks Configuration
This section is only shown for self-hosted instances.Configure your Databricks workspace connection details.Required fields:
- Databricks SPN Application ID - The Application (Client) ID of your Databricks Service Principal. Found in Azure Portal under Enterprise Applications.
- Databricks SPN Object ID - The Object (Principal) ID of your Databricks Service Principal. Found in Azure Portal under Enterprise Applications.
- Databricks Account ID - Your Databricks Account ID (UUID format). Found in the Databricks Account Console.
These fields will be disabled after the external configuration is complete and cannot be modified later.
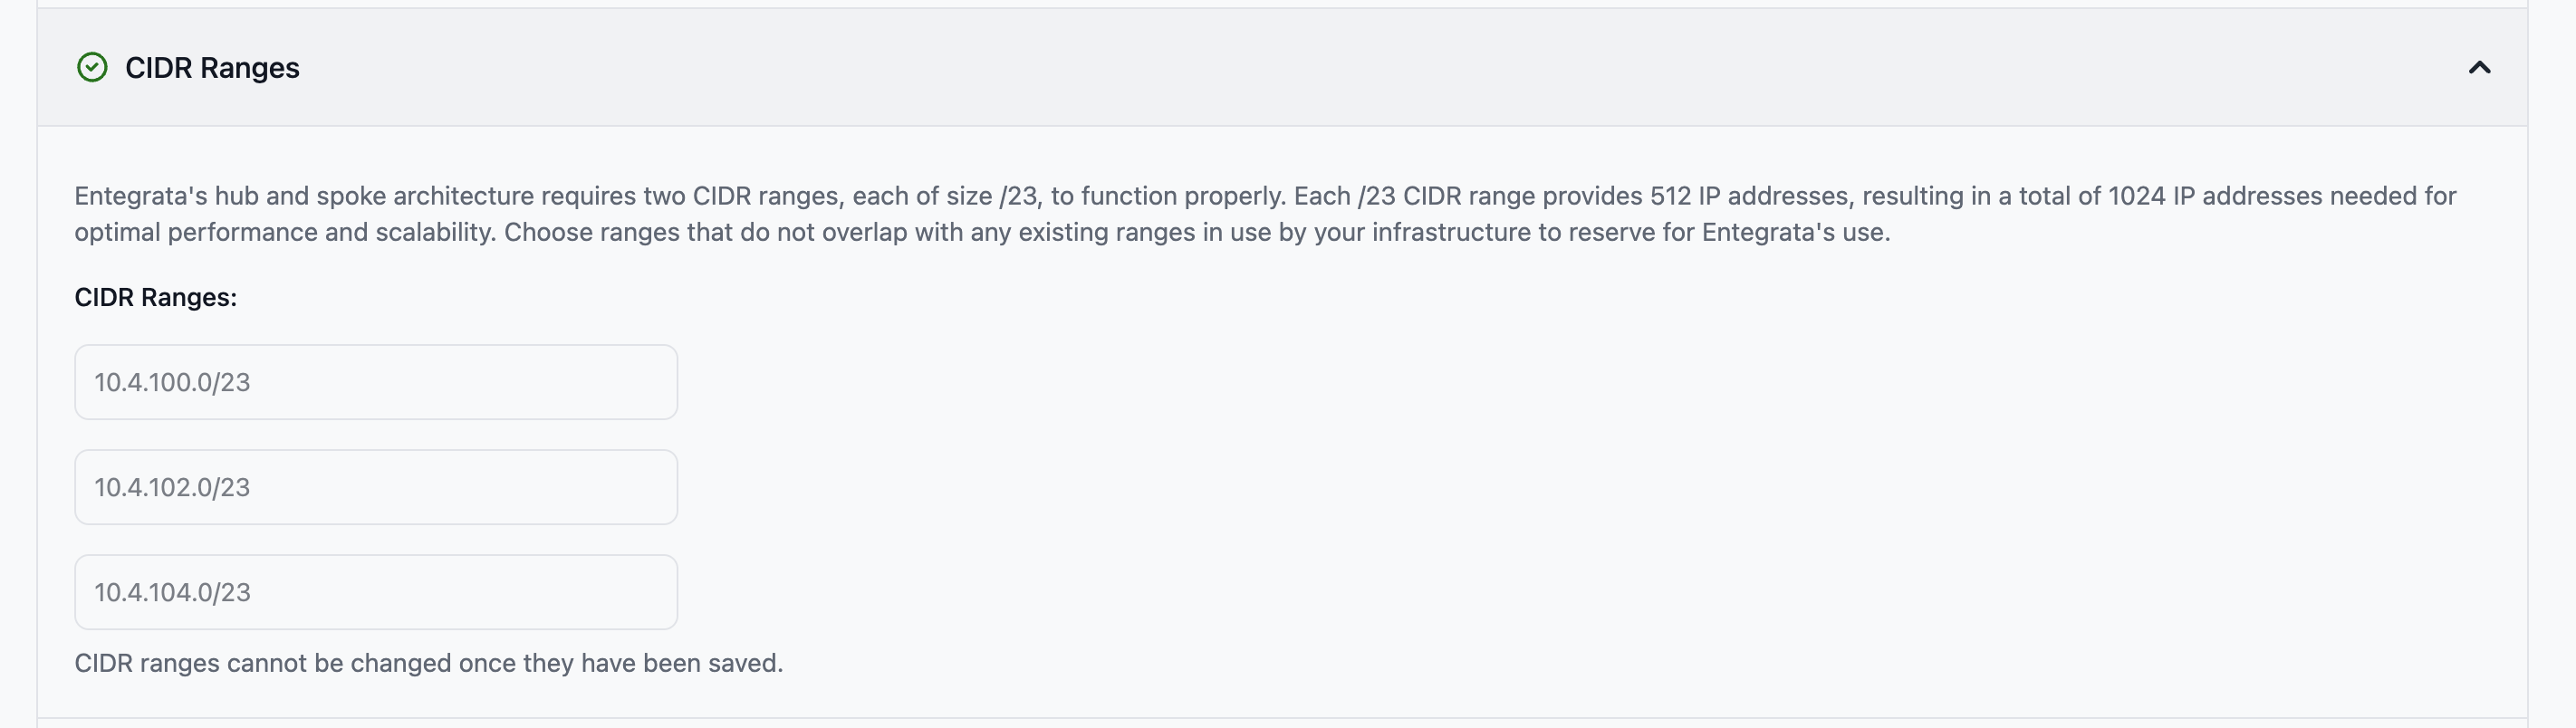
2. CIDR Ranges
2. CIDR Ranges
Specify three non-overlapping /23 CIDR ranges reserved exclusively for Entegrata.Required fields:
- CIDR Range 1 - First /23 CIDR block (e.g., 10.0.0.0/23)
- CIDR Range 2 - Second /23 CIDR block (e.g., 10.0.2.0/23)
-
CIDR Range 3 - Third /23 CIDR block (e.g., 10.0.4.0/23)

3. External VNet Information
3. External VNet Information
Before proceeding, gather the following information from your Azure environment:You’ll need this in the next section.
- Navigate to the Azure Portal
- Go to Virtual Networks → Select your VNet
- In the Properties section, copy the Resource ID
4. Entegrata Peering Setup
4. Entegrata Peering Setup
Configure the peering connection from Entegrata to your Virtual Network.Required field:
-
Virtual Network Resource ID - The full Azure Resource ID of your Virtual Network

After submitting, Entegrata will initiate the peering connection. You’ll need to accept it on your side in the next step.
5. Customer Peering Setup
5. Customer Peering Setup
After Entegrata initiates the peering, you need to accept it in your Azure environment.For Self-Hosted Instances:To allow Entegrata to establish a virtual network peering to your Azure environment, you need to grant the Network Contributor role to the managed identity created for your subscription. The managed identity name will be dynamically generated and resides within the Entegrata subscription in a corresponding resource group.Steps to grant Network Contributor role: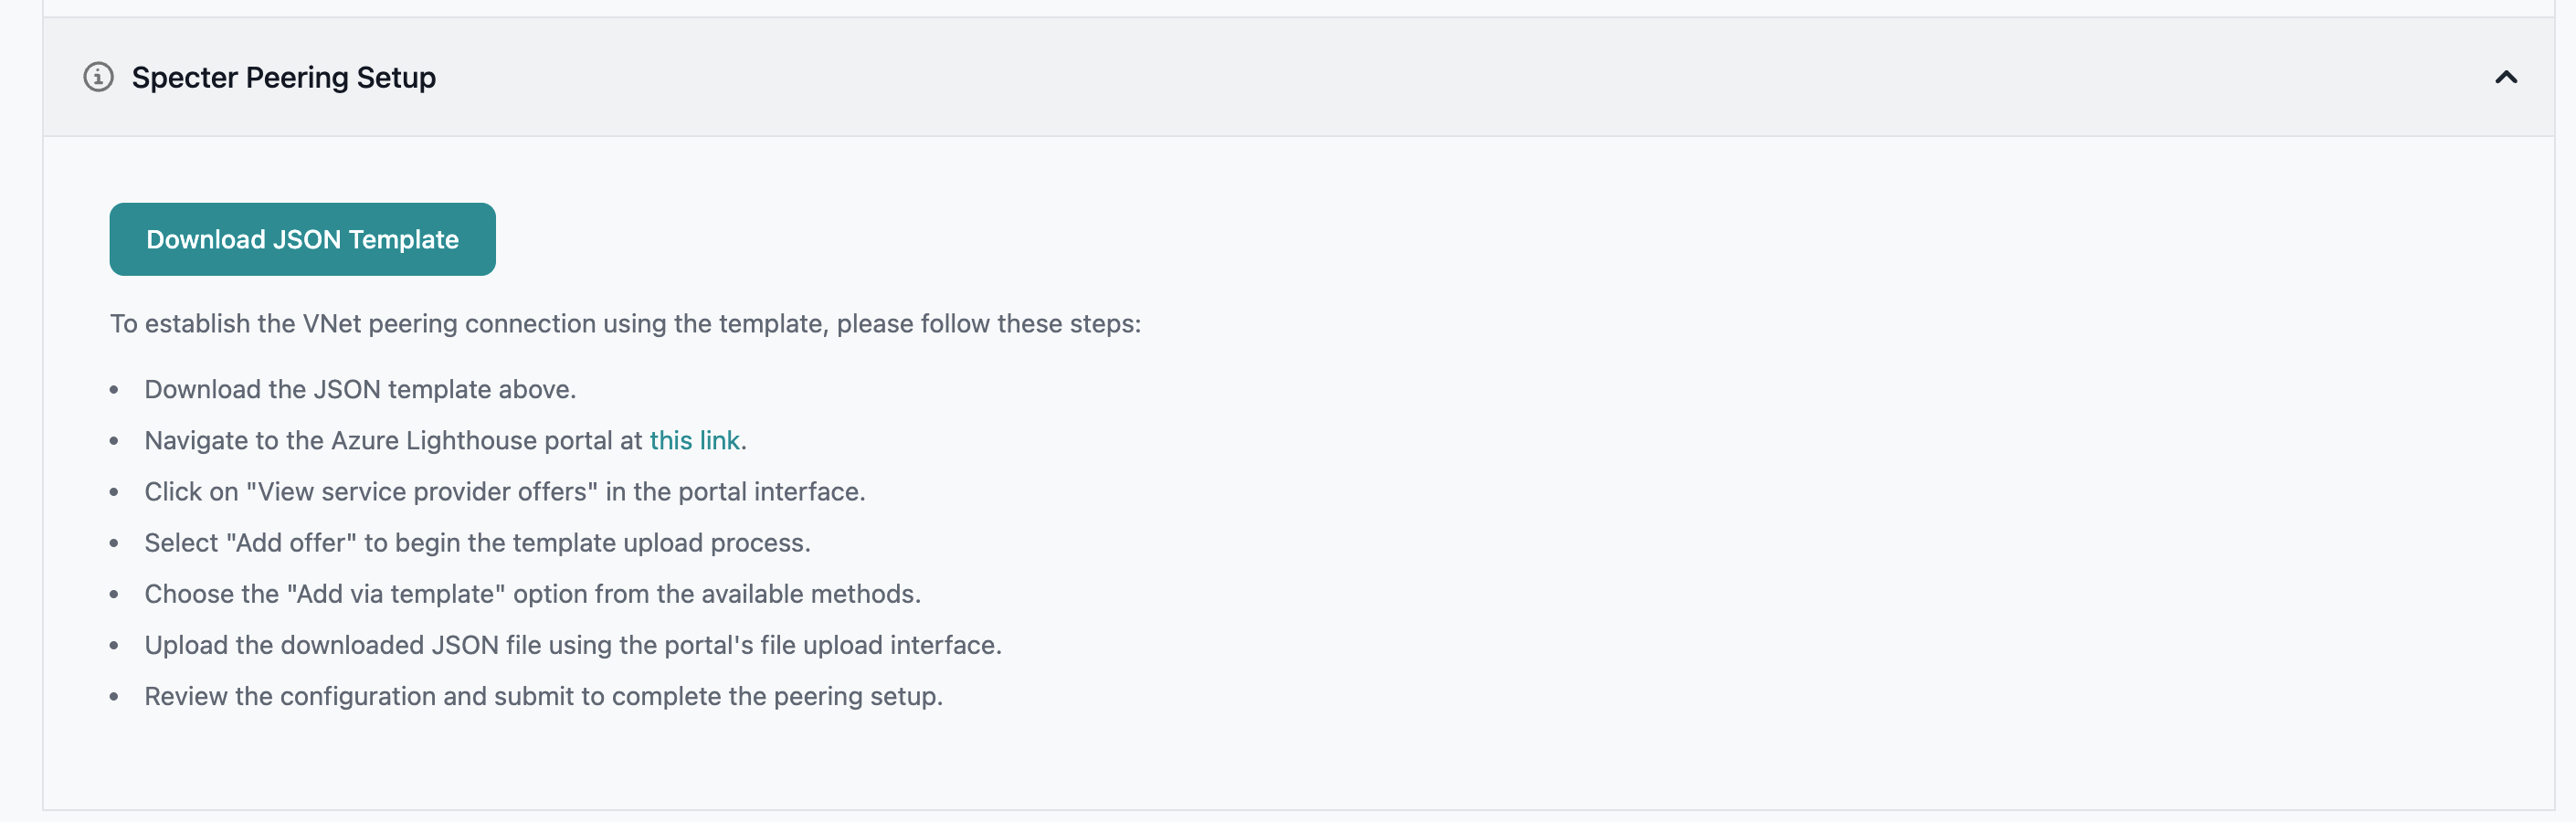
- Sign in to the Azure Portal
- Navigate to Subscriptions or Resource Groups, depending on where you want to assign the role. Make sure the virtual network you want to peer is within the source group or subscription:
- For the entire subscription, select Subscriptions > Your subscription
- For a specific resource group, select Resource Groups > Your resource group
- In the left-hand menu, click Access control (IAM)
- Click + Add > Add role assignment
- In the Role dropdown, select Network Contributor
- In the Assign access to section, choose Managed identity
- Click Select members, then search for and select the managed identity (the name will be displayed in the interface)
- Click Select, then Review + assign to complete the role assignment
- Verify the assignment by checking the role assignments tab in the Access control (IAM) section
- Download the Lighthouse template provided in the interface
- Follow the instructions shown in the interface for where to apply this template in your Azure portal
- The template will automatically configure the necessary permissions for the peering connection
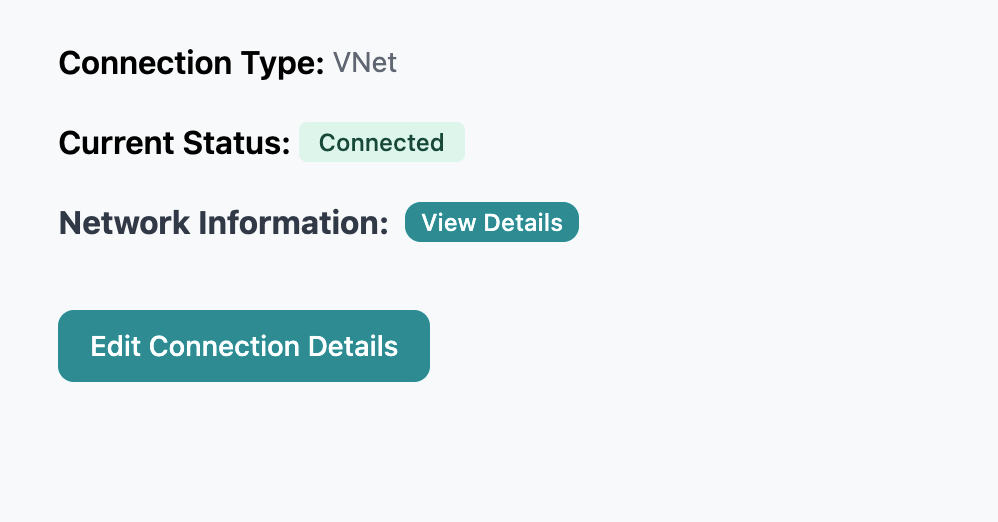
The peering connection will show as “Connected” once both sides have completed configuration.
Validation
After configuration, Entegrata will automatically:- Verify the peering connection is established
- Test network connectivity
- Validate routing configuration
- Confirm DNS resolution
Troubleshooting
Error: "Resource id must be of the format..."
Error: "Resource id must be of the format..."
This appears when: The VNet Resource ID format is incorrectSolutions:
- Ensure the ID starts with
/subscriptions/ - Verify all required path segments are present
- Check for typos in the resource group or VNet name
- Copy the exact Resource ID from Azure Portal → Virtual Networks → Properties
Error: "Invalid size" or "Invalid format" for CIDR
Error: "Invalid size" or "Invalid format" for CIDR
This appears when: CIDR ranges don’t meet requirementsSolutions:
- Ensure all three ranges use
/23subnet mask (not /24, /22, etc.) - Format must be
X.X.X.X/23(e.g.,10.0.0.0/23) - Check for typos in IP addresses
- Verify ranges don’t overlap with your existing networks
Error: "CIDR ranges must be unique"
Error: "CIDR ranges must be unique"
This appears when: You’ve entered the same CIDR range twiceSolutions:
- Use three different /23 ranges
- Example:
10.0.0.0/23,10.0.2.0/23,10.0.4.0/23 - Ranges must not overlap or be identical
Status shows "Not Connected" after saving
Status shows "Not Connected" after saving
This means: The peering hasn’t been established yetNext steps:
- Check Azure Portal for pending peering request
- Accept the peering on your VNet side
- Verify Network Security Group rules
- Wait a few minutes for propagation, then refresh the status
Security Considerations
Regardless of connection type, Entegrata implements multiple security layers:All traffic is encrypted in transit - Network isolation between customers - Regular security audits and compliance certifications - Azure-native security features (NSG, Azure Firewall)
Save Configuration
Once you’ve entered all required information for your chosen connection type, click the Save button to apply your configuration. The system will validate your settings and begin establishing the network connection.Next Steps
Back to Step 1
Return to Subscription Activation
Continue to Step 3
Proceed to Additional Settings