Documentation Index
Fetch the complete documentation index at: https://support.entegrata.com/llms.txt
Use this file to discover all available pages before exploring further.
Overview
The Entegrata data mapping editor is a powerful visual interface for creating and managing data transformations. Using an intuitive node-based design, you can connect data sources, transform data, and map fields without writing code. This guide covers all features of the mapping editor, from basic navigation to advanced transformations.Interface Overview
The mapping editor consists of several key areas:Main Canvas
The central workspace where you visually build your data pipeline:- Source Nodes: Represent your data sources
- Field Nodes: Individual fields from sources
- Transformation Nodes: Data transformations and operations
- Entity Node: Your target data type with its fields
- Connection Lines: Show data flow between nodes
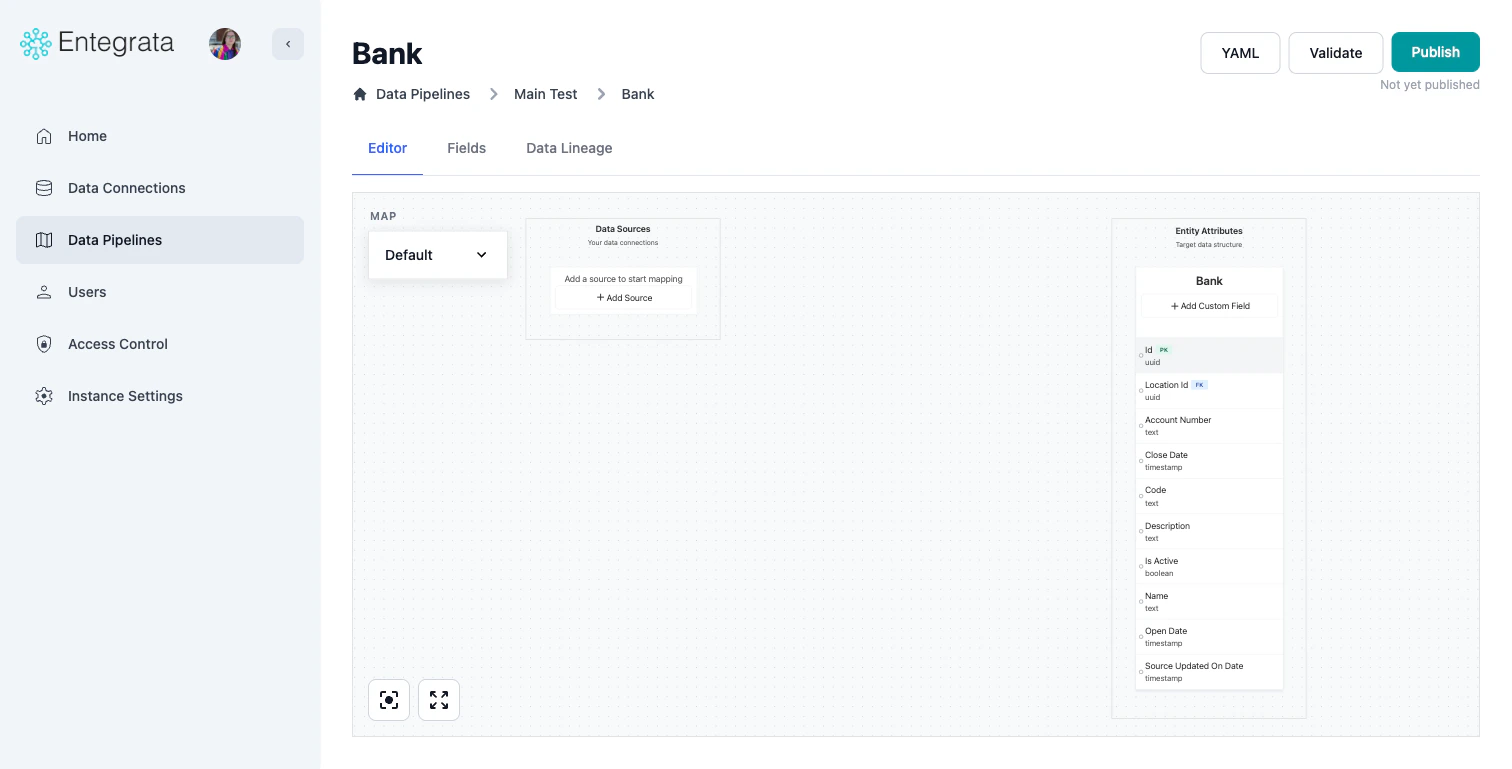
Toolbar
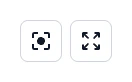
Located at the bottom of the editor:- Center View: Re-center and fit all nodes in view
- Full-Screen: Expand the editor to fill your screen
- Save / Discard: Appear in a floating bar at the bottom center when you have unsaved changes
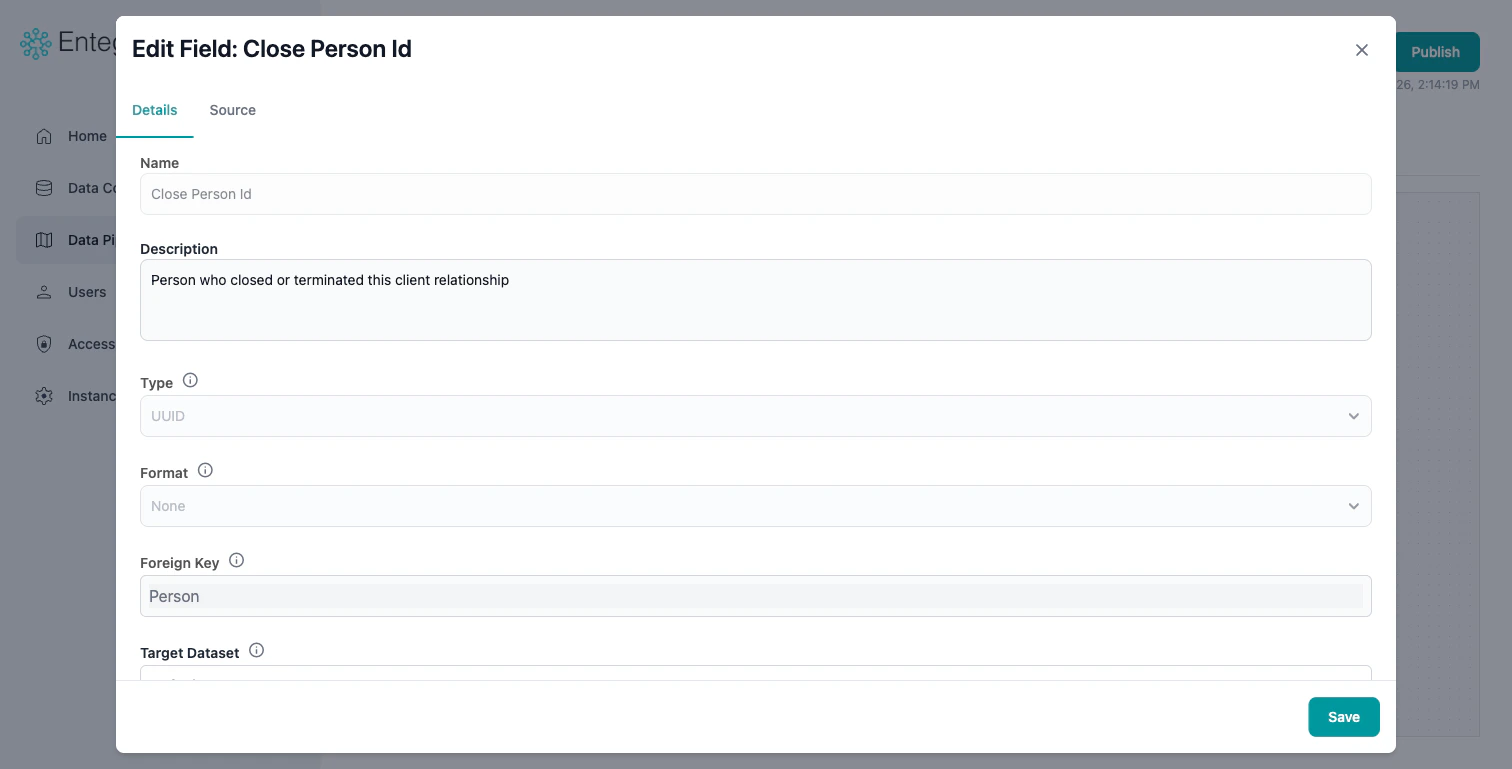
Edit Field Modal
Click on any entity field to open the Edit Field modal with two tabs:- Field Configuration: Edit the field’s name, description, type, format, foreign key, and tags
- Data Source: Configure how the field gets its value — select a source field directly, or set up a multi-field operator (Use First Available, Join Text, Apply Conditions, etc.)
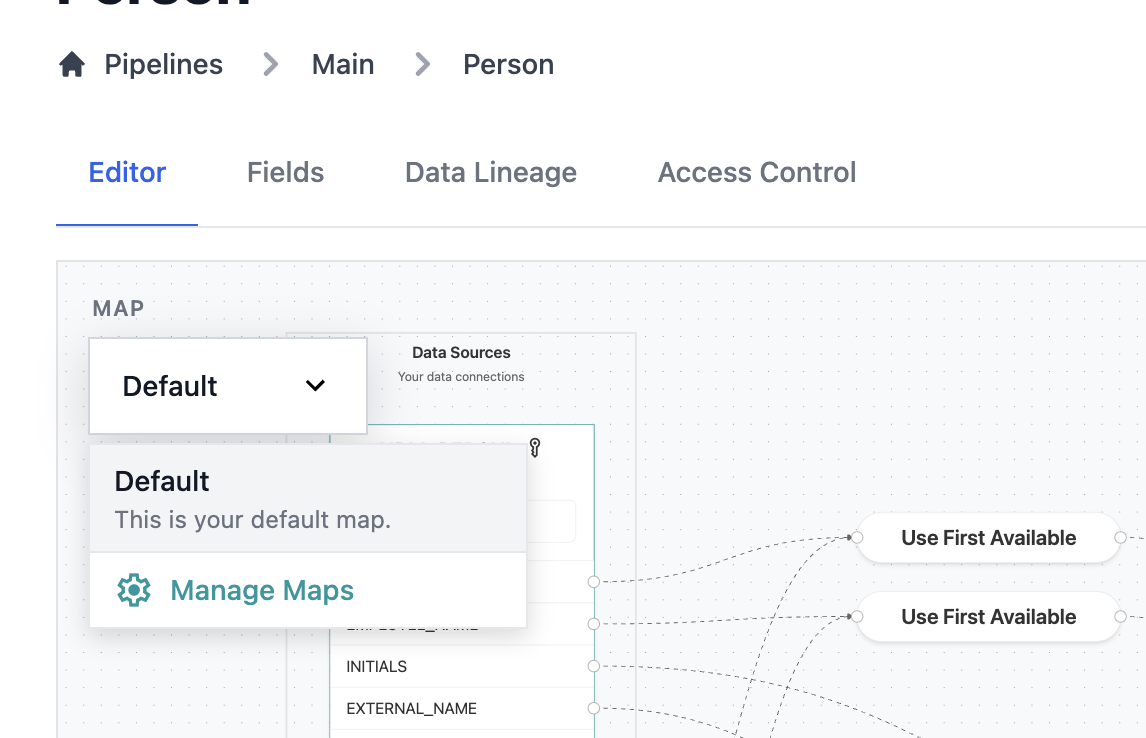
Map Selection
Dropdown located in the top left of the editor:- Select your current data map
- Manage new and existing data maps
Navigating the Canvas
Pan and Zoom
- Pan: Click and drag on empty canvas space
- Zoom In/Out: Use mouse wheel or zoom controls
- Fit to Screen: Click the fit icon to center all nodes
- Reset Zoom: Double-click empty canvas space
Selecting Nodes
- Single Select: Click on a node
- Entity Field Click: Opens the Edit Field modal
- Context Menu: Use the three-dot menu (⋮) on source nodes, or right-click on connection lines
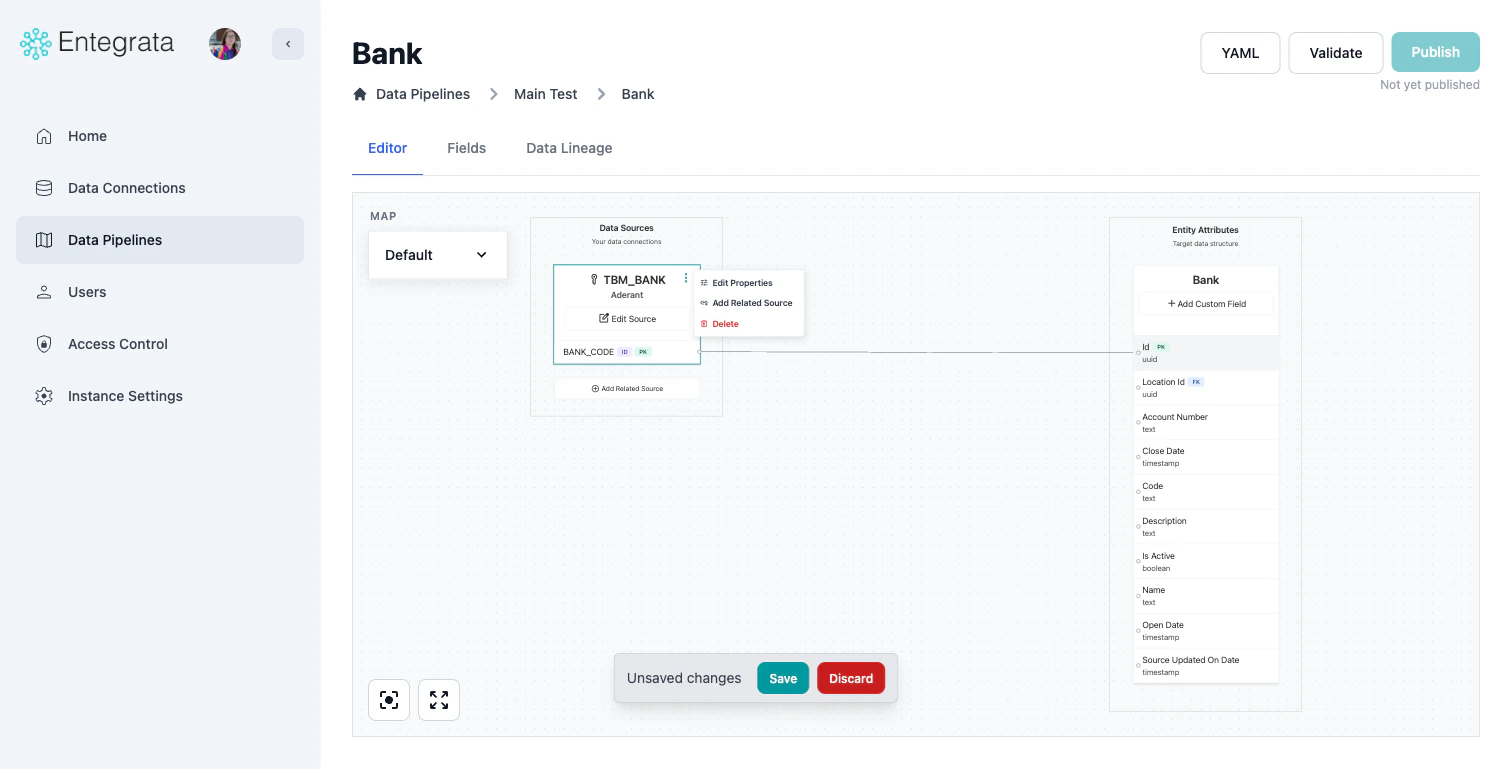
Source Node Actions
Source nodes have a three-dot context menu (⋮) with the following options:- Edit Properties: Open the Edit Source modal to modify fields, primary key, identifier, or filters
- Add Related Source: Launch the Add Source Wizard to add a related source
- Delete: Remove the source from the mapping
Working with Source Nodes
Adding a Primary Source
Click the + Add Source button in the Data Sources placeholder to launch the Add Source Wizard. The wizard guides you through selecting a source, configuring a primary key, and setting up a record identifier. For detailed instructions, see Configuring Data Sources.Adding Related Sources
Click the + Add Related Source placeholder below your existing sources, or use the source node’s context menu. The wizard walks you through selecting a source, configuring a primary key, and setting up record matching to join with the primary source. For detailed instructions, see Configuring Data Sources.Editing Source Properties
Click the Edit Source button on any source node, or use the context menu’s Edit Properties option. The Edit Source modal provides three tabs for managing fields, properties (primary key and identifier), and filters. For detailed instructions, see Configuring Data Sources.Working with Field Mappings
Direct Field Mapping
The simplest mapping: connect a source field directly to an entity field.Drag to Connect
Click and drag from a source field to an entity field on the right side. A connection line appears. Alternatively, click on an entity field and select the source field from the dropdown.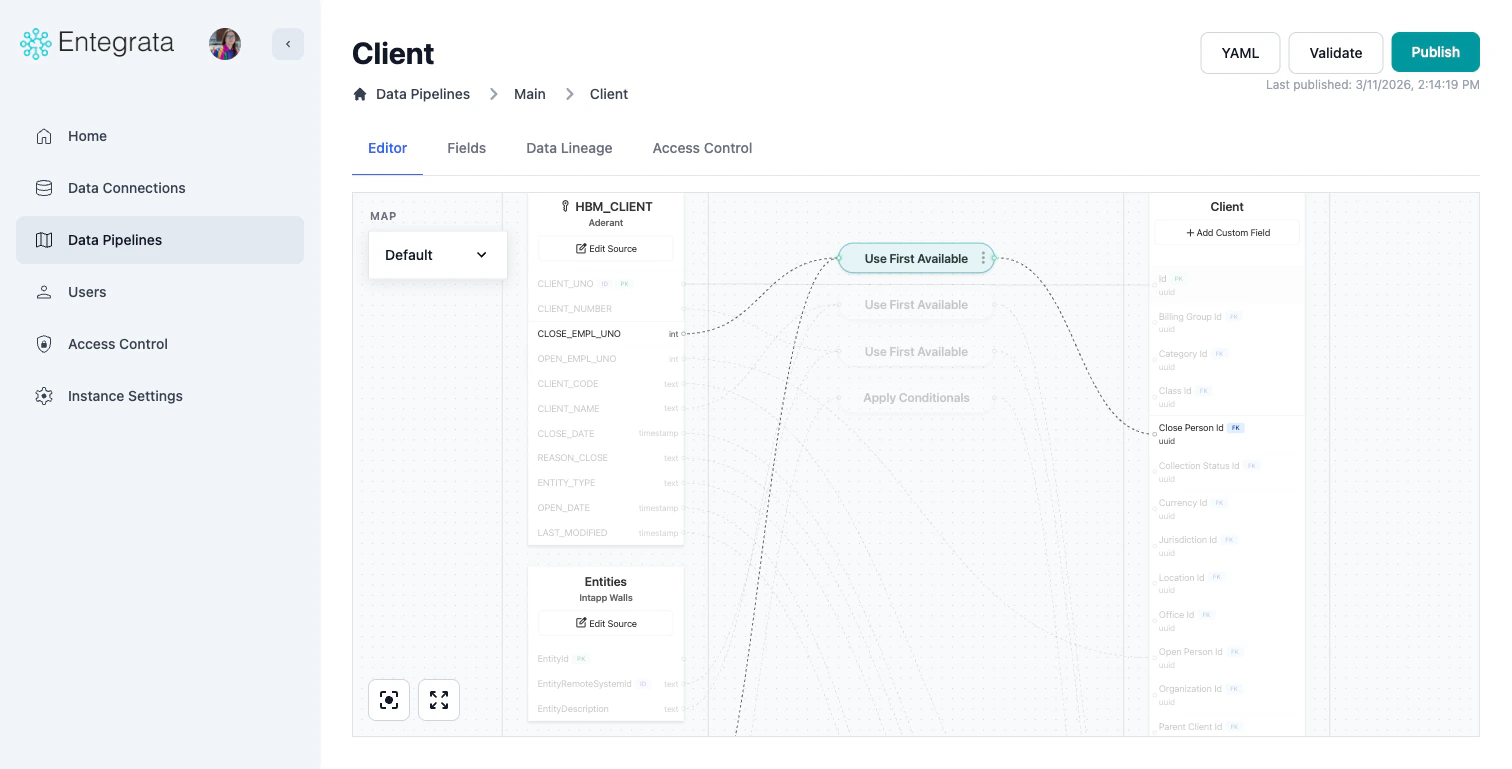
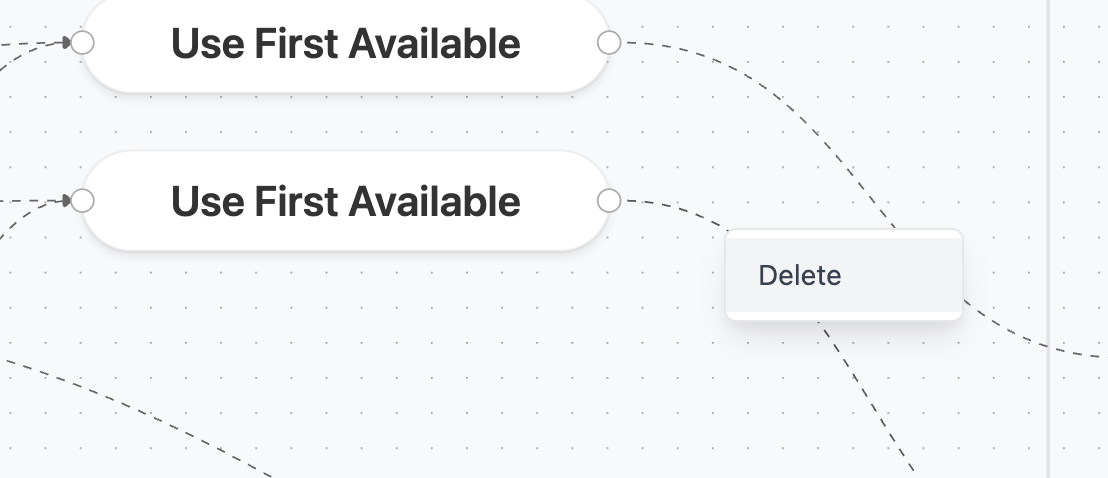
Unmapping Fields
To remove a field mapping:- Visual View: Right-click the connection line and select Delete or select the line and press Delete key
Creating Combined Mappings
Map Multiple Source Fields
Drag Source Field to Mapped Entity Field
Drag a source field’s handle to a field on the entity which is already mapped.This will create a new “logic” node in the middle of the mapping editor, allowing you to specify how the different fields should be used to set the value of the target entity field.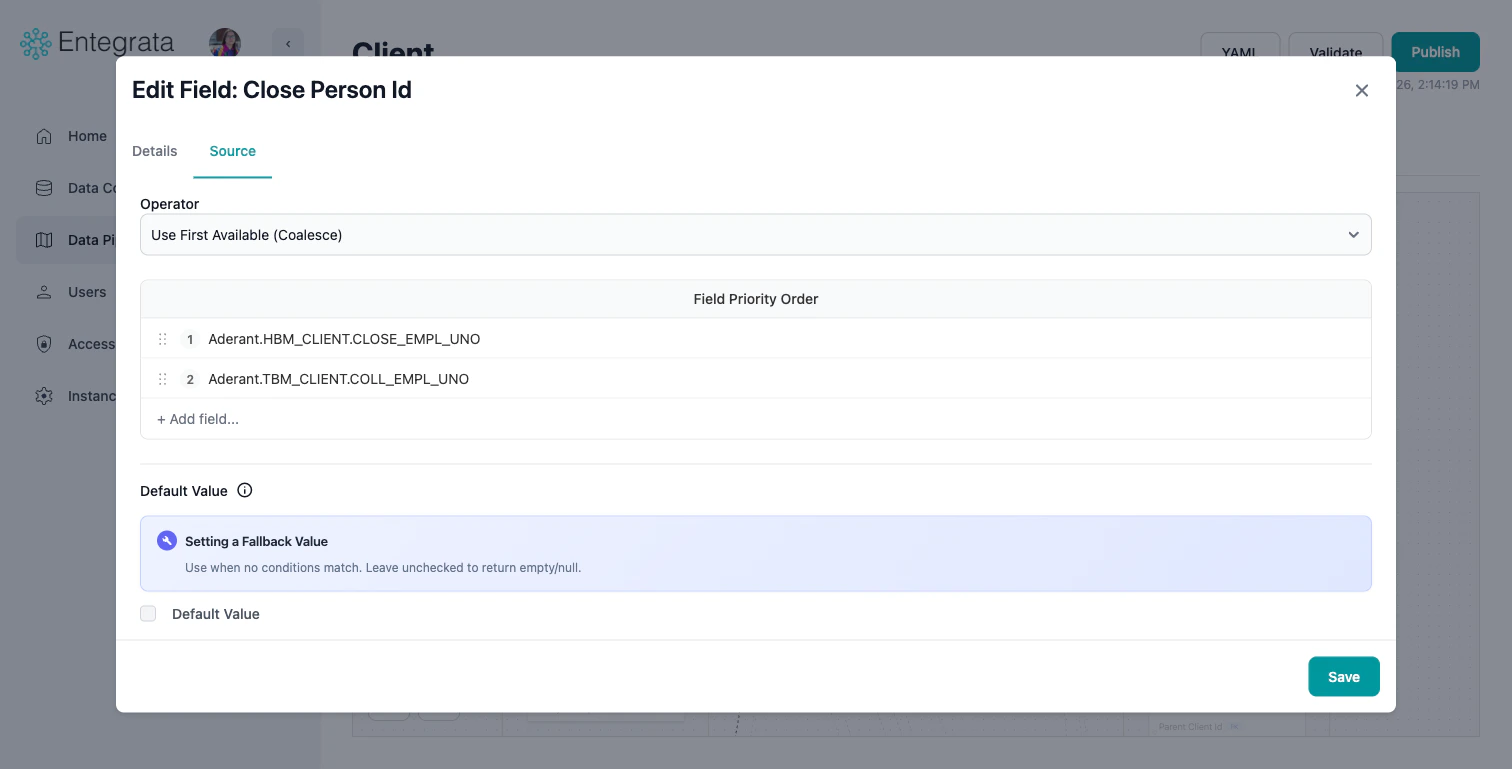
Choose Operator
Click the logic node’s three-dot menu and select Edit Settings, or click the entity field to open the Edit Field modal. On the Data Source tab, use the Operator dropdown to select: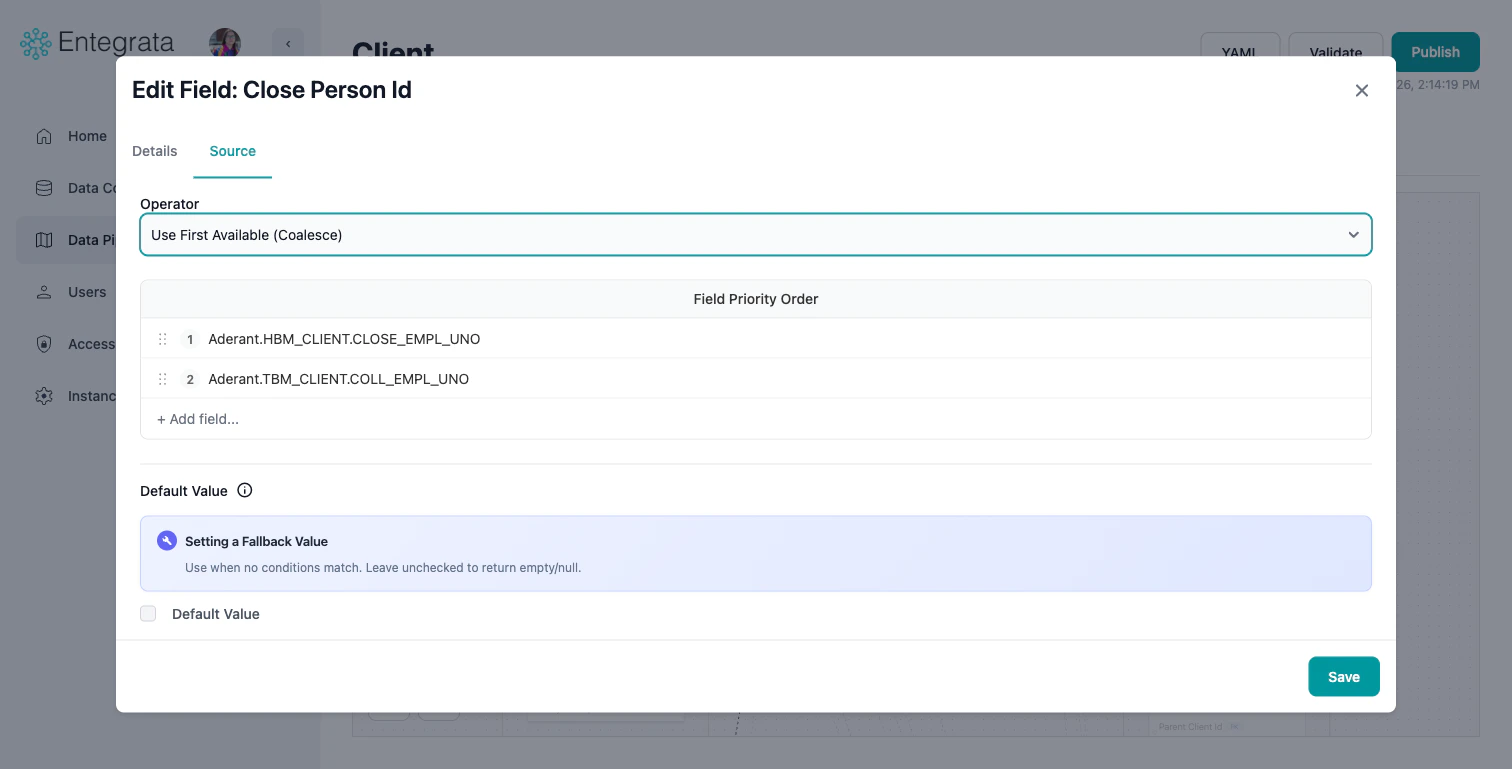
- Use First Available (Coalesce): Use first non-null value from multiple fields
- Join Text (Concat): Combine multiple fields into one
- Apply Conditions: Conditional logic (if-then-else)
- Generate Hash: Combine & obfuscate multiple fields to produce a unique value
- Use Highest Value: Take the highest value of the input fields
- Use Lowest Value: Take the lowest value of the input fields
Saving and Auto-Save
Manual Save
Click the Save button in the toolbar to save your changes:- Saves all mapping configuration
- Creates a version history entry
- Does not publish to production

Auto-Save
The editor automatically saves your work on your browser (not the server):- Every change is persisted in a local state until saved.
- Changes made only to your local browser can be discarded using the Discard Changes button in the toolbar.
- Changes may disappear from your local browser if you clear your browser cache.
Troubleshooting
Editor Not Loading
Issue: Canvas is blank or stuck loading. Solutions:- Refresh the browser page
- Clear browser cache
- Check network connectivity
- Verify you have permission to view this entity
Cannot Connect Fields
Issue: Dragging a field doesn’t create a connection. Solutions:- Check data type compatibility (see warning messages)
- Ensure target field isn’t already mapped (unmap first)
- Verify source node is properly configured
Changes Not Saving
Issue: Save button doesn’t work or changes are lost. Solutions:- Check for validation errors (fix before saving)
- Verify you have edit permissions
- Look for browser console errors
- Try saving in smaller batches
Related Topics
Configuring Sources
Learn how to add and configure data sources
Mapping Fields
Step-by-step field mapping procedures
Multi-Field Mapping
Advanced transformations with COALESCE, CONCAT, and CASE
Publishing Mappings
Deploy your mappings to production